Installing the plugin
- Download the plugin zip from your customer dashboard. Do not unzip it.
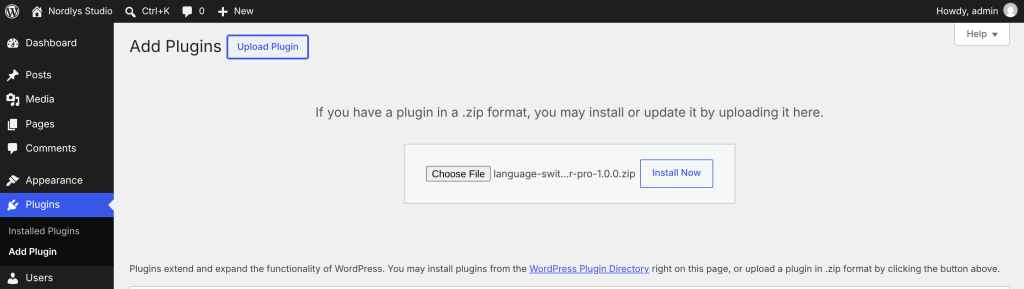
- In WordPress, go to Plugins → Add New Plugin and click Upload Plugin.
- Choose the zip and click Install Now.
- Click Activate Plugin.
After activating, you will find:
- Settings → Language Switcher: all the plugin settings.
- On the Plugins screen: Settings and Activate license links under the plugin’s name, and Documentation and Customer dashboard links under its description.

Updating from an earlier copy: upload the new zip the same way. WordPress asks if you want to replace the current version; click Replace current with uploaded. Your settings are kept. Once your license is active, updates arrive in Dashboard → Updates like any other plugin.